How to Semi-Professionally Livestream (& Record) an Event
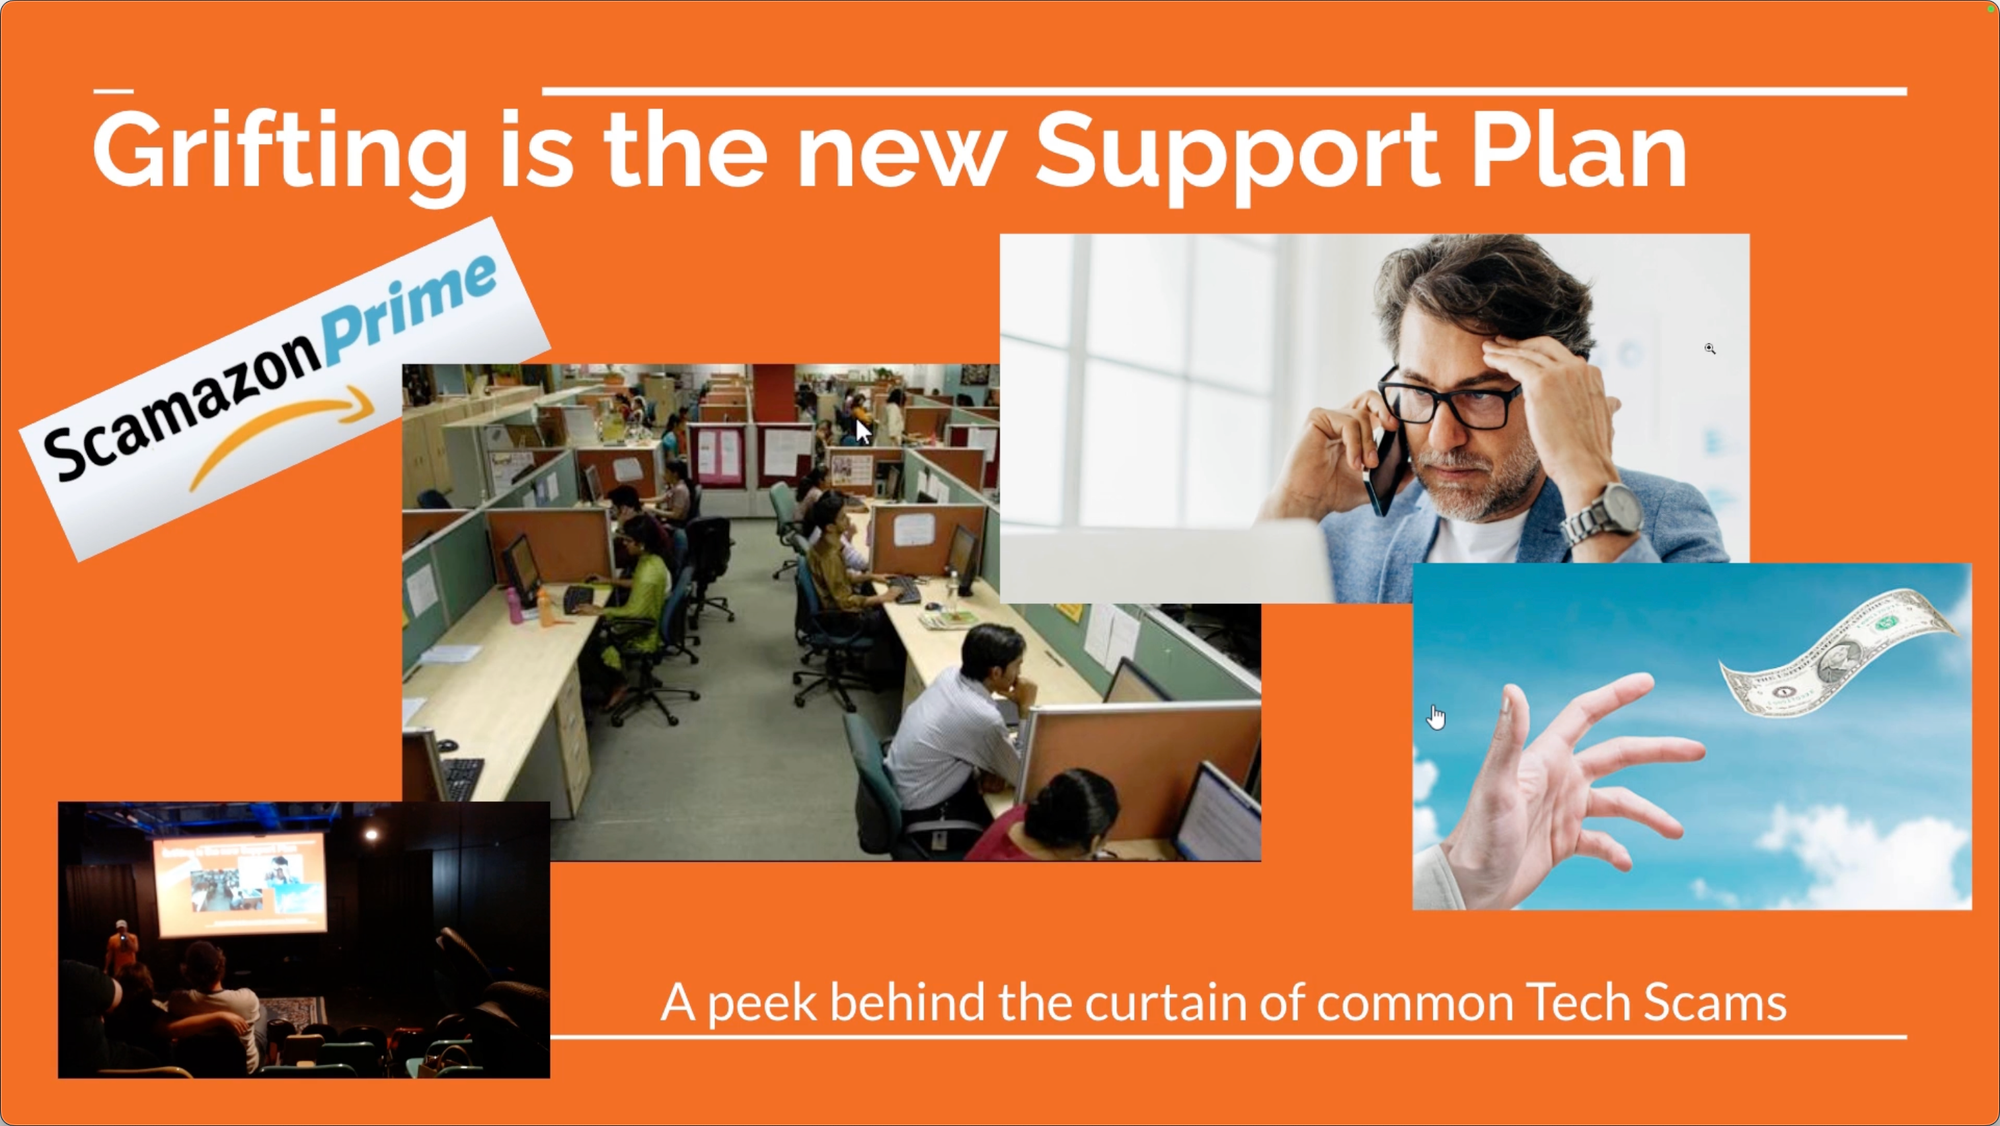
Our friends host a yearly Drink Talk Learn (DTL) party each year for our local (and now some remote) friend group. The past few years it has expanded and is now hosted at the Mettlesome theater in Downtown Durham. I thought it would be an interesting challenge to try and livestream and record this year's presentation "semi-professionally" so people who could not make it would be able to either join remotely or watch the recordings later.
The first time I attempted this it was with zero planning, and was basically just a USB webcam pointing backwards in an apartment, probably on Discord. This time my requirements were:
- It needs to work well and the first time – there will be no do-overs.
- The setup needs to be unobtrusive to the main event – I shouldn't be a nuisance.
I knew I wanted to use OBS Studio, but beyond that I was not certain.
Skipping to the end, it worked really well!
Video Software
Transmission
For streaming I simply paid for one month of Zoom Premium. Not much to discuss there, but one important detail: Selecting High Definition Audio in the settings does not turn on high definition audio. Not realizing this my demo assistants and I spent hours thinking it was audio capture related before we noticed another setting.
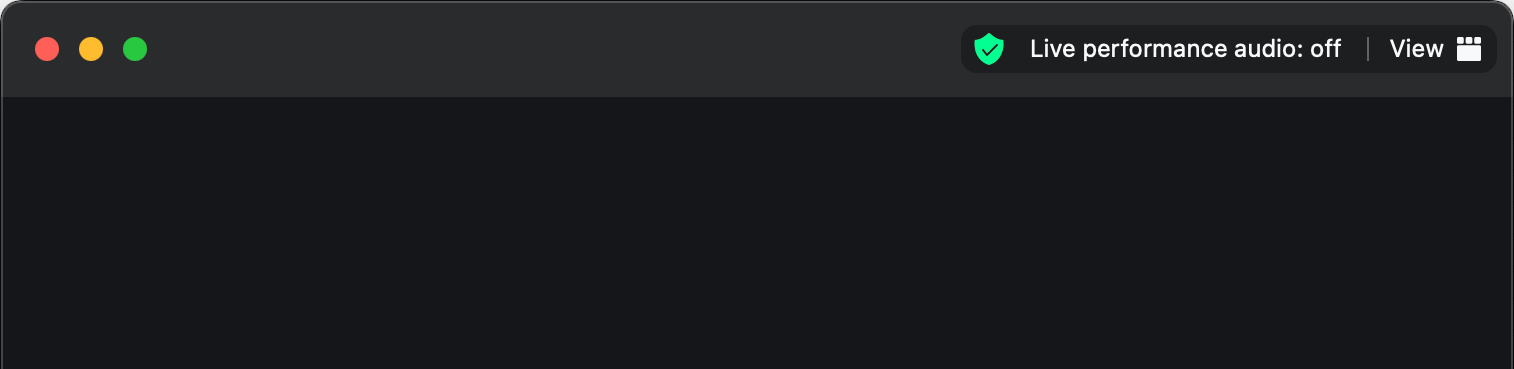
In the upper right-hand corner is an easily missed "Life performance audio" button. Switch this on and it will disable compression and noise reduction. Without this on your audio feed will sound awful, especially if you're transmitting something like a YouTube video as part of a presentation. It will be very garbled (we listened to Take on Me by a-ha in this state, a lot).
Screencasting
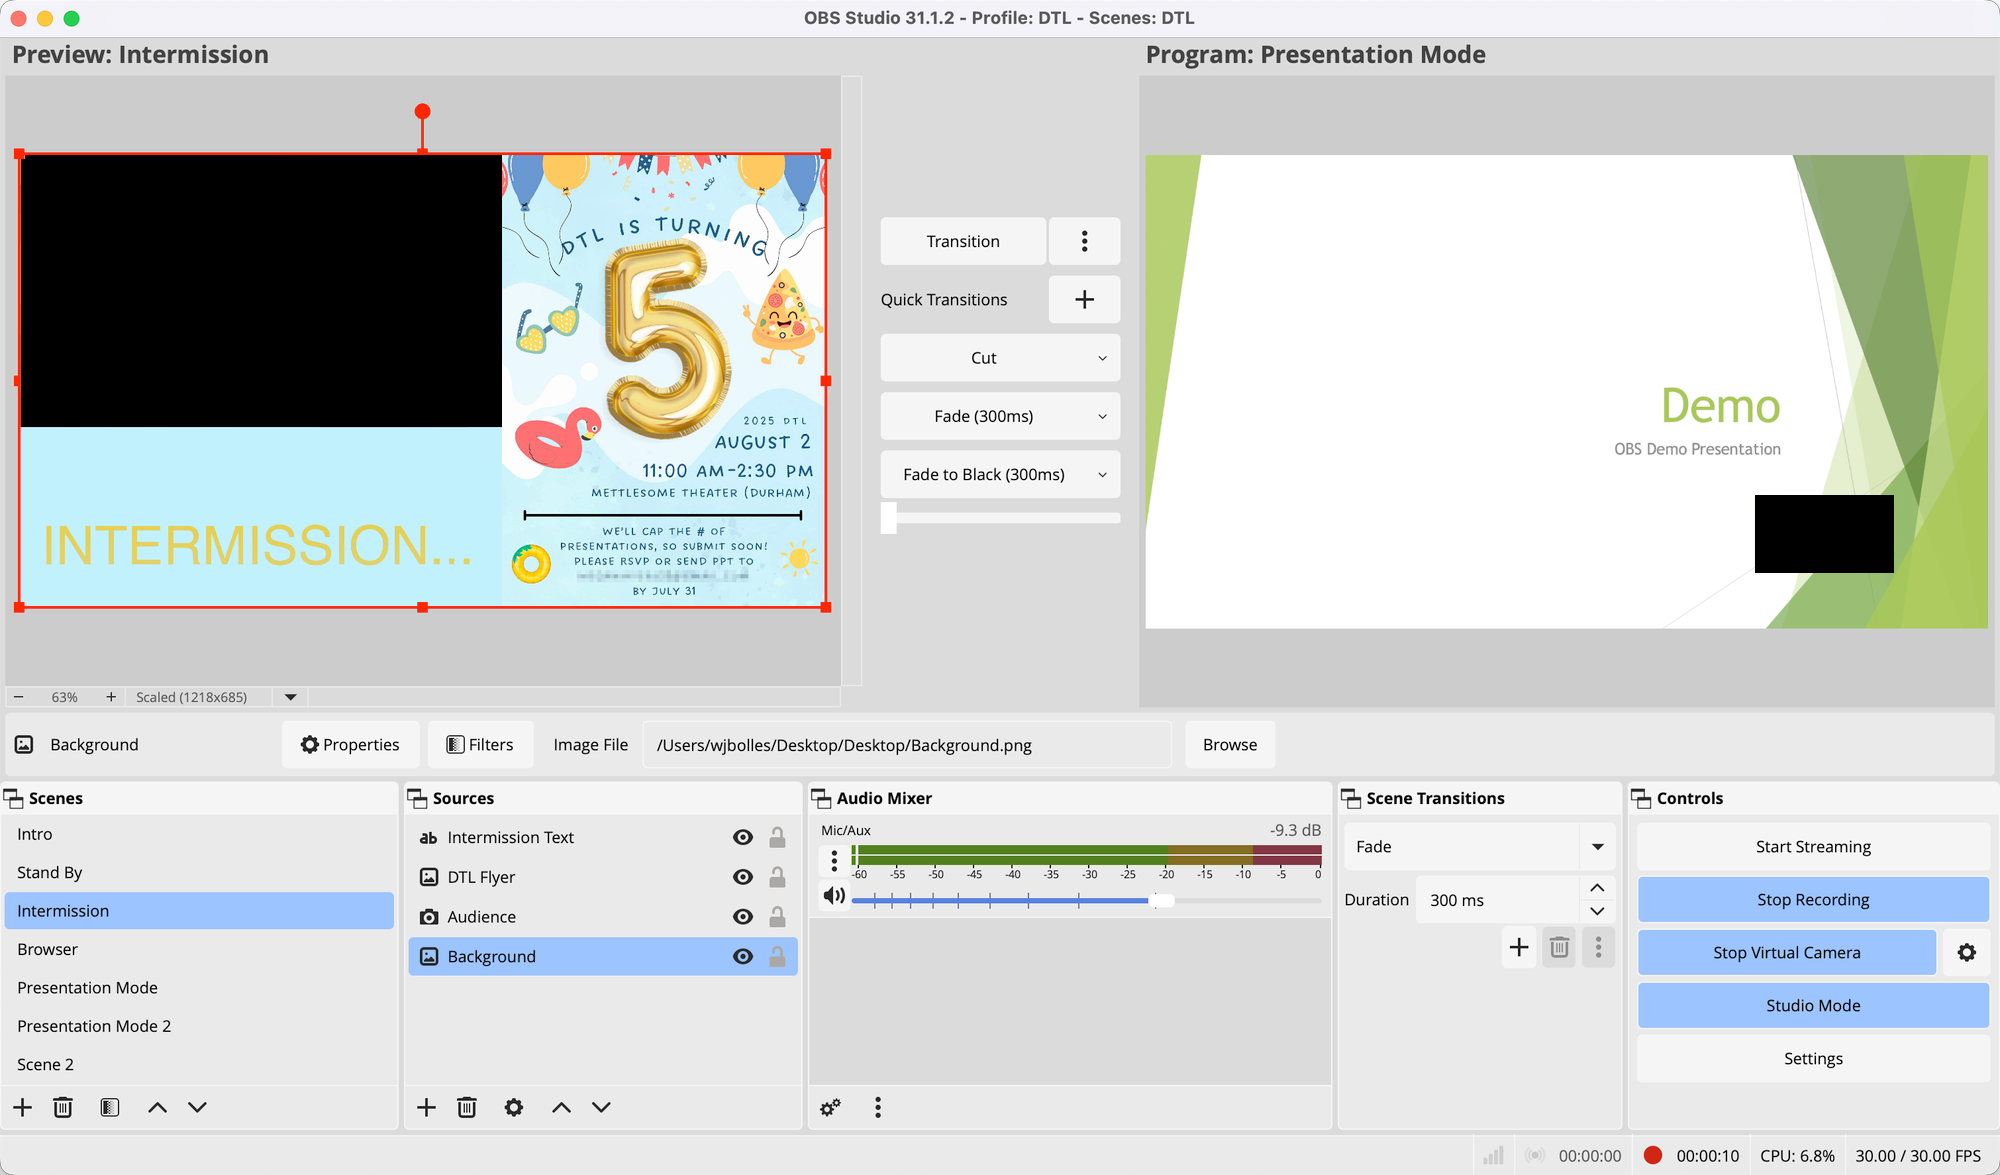
The only tool for this was OBS. Before the event I pre-configured various scenes with the speaker camera feed, and adjusted or crafted new ones as needed while streaming. I used Studio Mode to stage the next scenes. My M1 Macbook Pro was sufficient to keep up with simultaneously recording and livestreaming via the Virtual Camera. I packed an external USB C monitor as the container for Powerpoint et. al. to keep screen-capturing the presentations straightforward.
Audio Hardware
I figured I needed a fail-safe wireless microphone setup, so I needed something not-Bluetooth that would be long range and not suffer from pairing problems; It has to work out of the box. I chose this off-brand 2.4Ghz wireless mic kit on Amazon that came with a pair of clip-on mics.
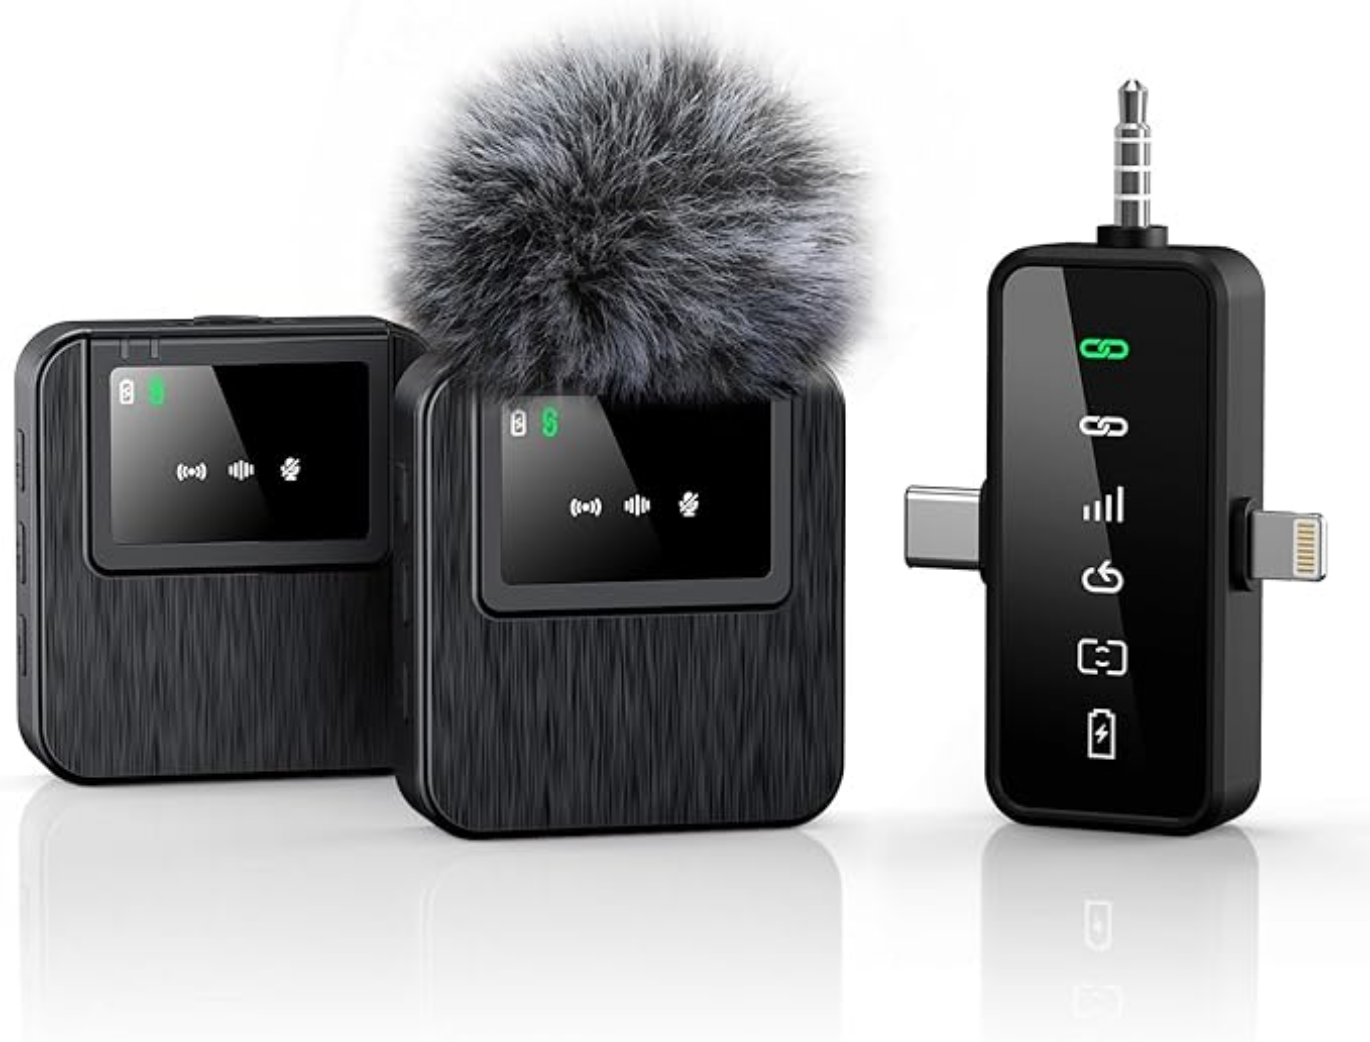

I liked having two because the event host could keep one so there would be minimal back and forth equipment swapping, and the adapter happily receives both feeds simultaneously over one output channel.
Audio Software
This part was hard. I know next to nothing about audio work, and without having a command of the vocabulary it was difficult to know how to search for what I needed, which was software called an audio router. Unfortunately (or fortunately depending on your point of view) there are very few options out there for either Windows or Mac.
Of the ecosystem Loopback for MacOS was by far the clear winner.
The only downside was the price was quite steep for possibly only using one time – $100. However, it turns out I love it. It's one of the best software tools I've used in years. Even if I don't end up using it very often it's indispensable for audio routing, something I didn't realize I needed in my life. On the left-hand side is the virtual output device that is plug-and-play in any teleconference or playback program.
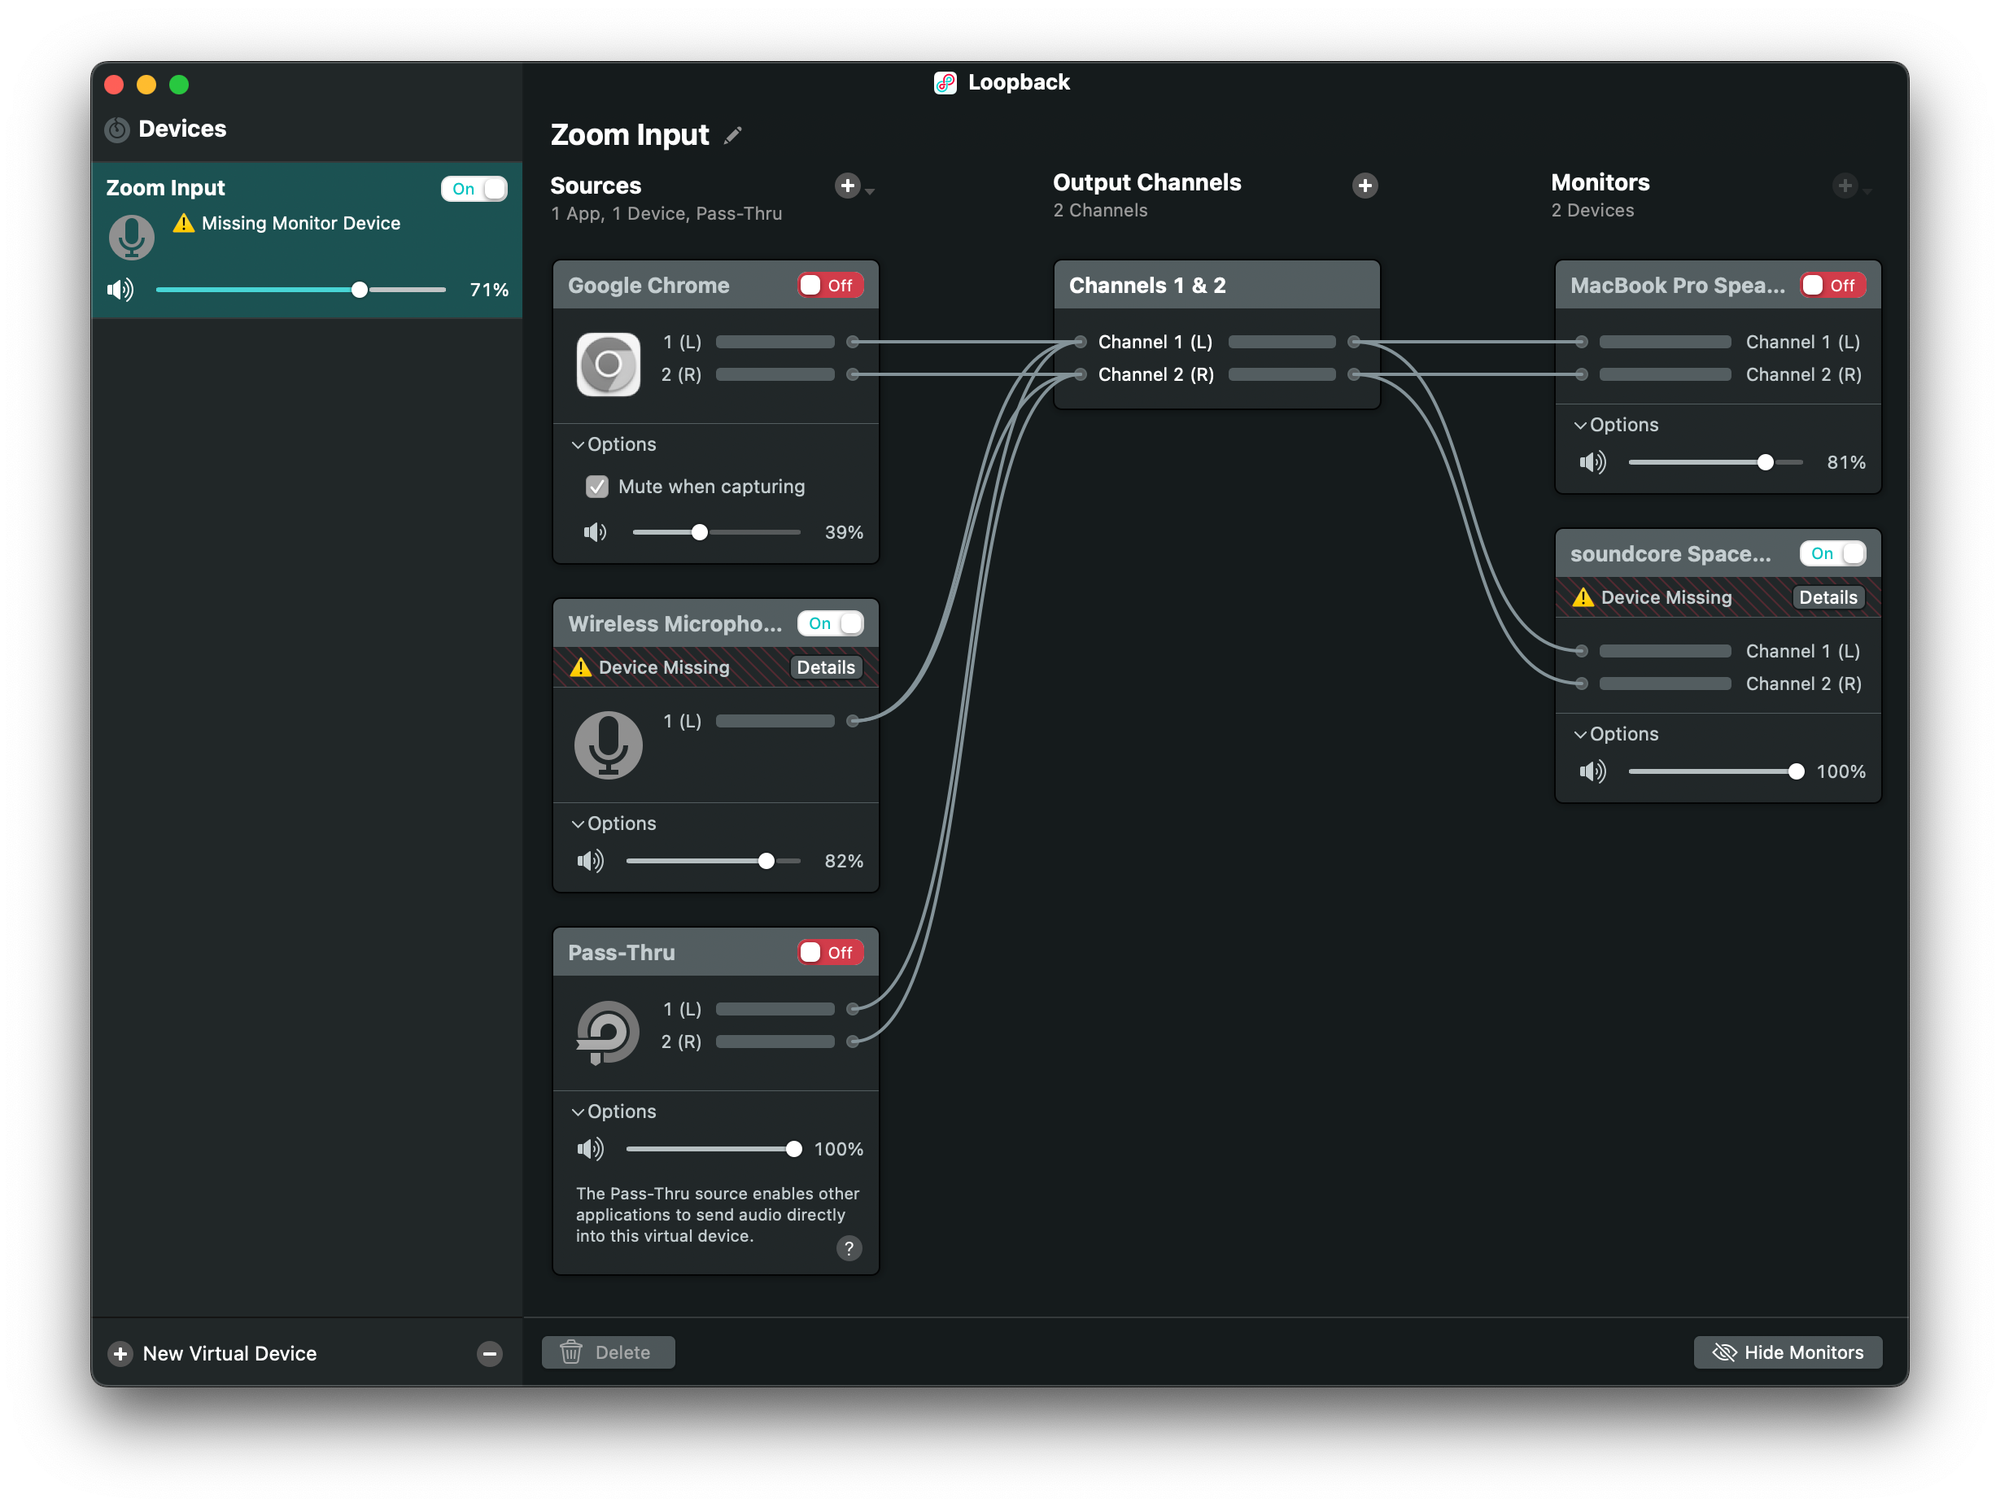
From there you can interleave various inputs from hardware mics, applications, etc. while adjusting volumes and muting/un-muting on the fly. You can also wire up the output channels to your headphones and listen to what is being mixed in real-time, so you know how things sound to your listeners as you go.
Gluing it all together
Overall it worked really well. I set up in the back of the theater and stuck the speaker webcam on a neighboring chair. It was somewhat intense focus-wise for myself during each presentation. To stay aligned with my being unobtrusive rule I did not attempt to rig up any kind of feed tap into the main projector, and just clicked along best I could with copies of the presentations.
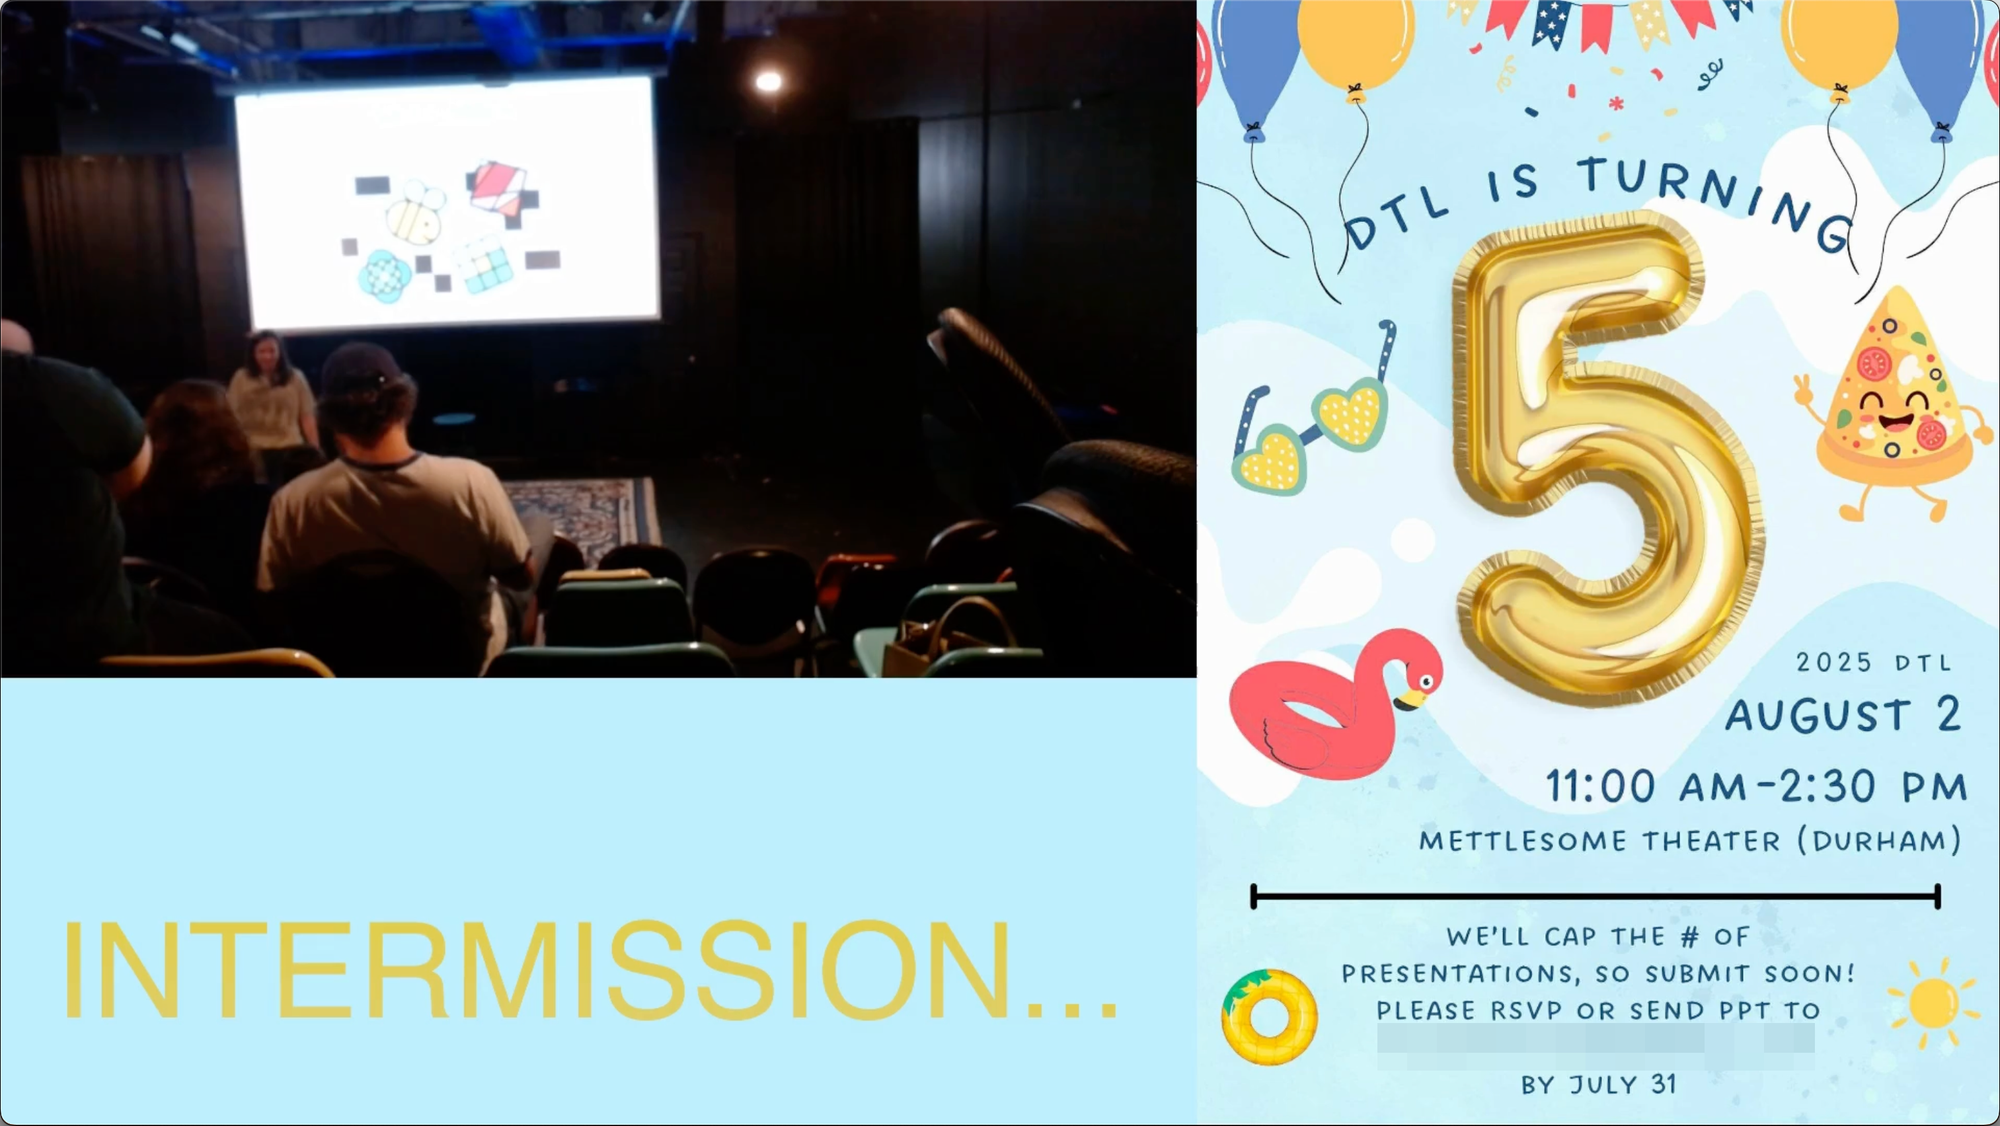
On my main laptop screen I adjusted volumes, cued up multimedia, checked in with remote viewers, adjusted the speaker video feed size and location if it was getting in the way of presentations, etc. The intermission screens were helpful to let me mess around with pre-presentation setup between sets.
The only minor issue was there was also a theater mic and speakers, and I decided stacking on my mics would be good enough. It did introduce a little reverb which I was hoping the mic would avoid picking up, but it was serviceable. There was also volume issues on one presentation. I think for an upcoming year I would take advantage of much earlier preparation to explore a way to retrieve the theater audio feed instead of using the third party supplementary clip-on mics, but this setup still exceeded my expectations. I think I would also add an audience mic since it was difficult to pick up the audience-side of Q&A.
Lastly, I saved each presentation file separately as insurance against any recording issues going unnoticed and affecting the whole event recording. Between sets I muted all audio feeds and did quick spot checks.
Post Production
For this my requirements were "easy enough to use and free." I used OpenShot which was... fine. It's a bit buggy, but worked.
I limited my editing to mainly trimming out the ends, limited volume normalization with Audacity, and clipping out a few livestream goofs, mainly briefly losing full screen for a moment on the screen share.
Bonus
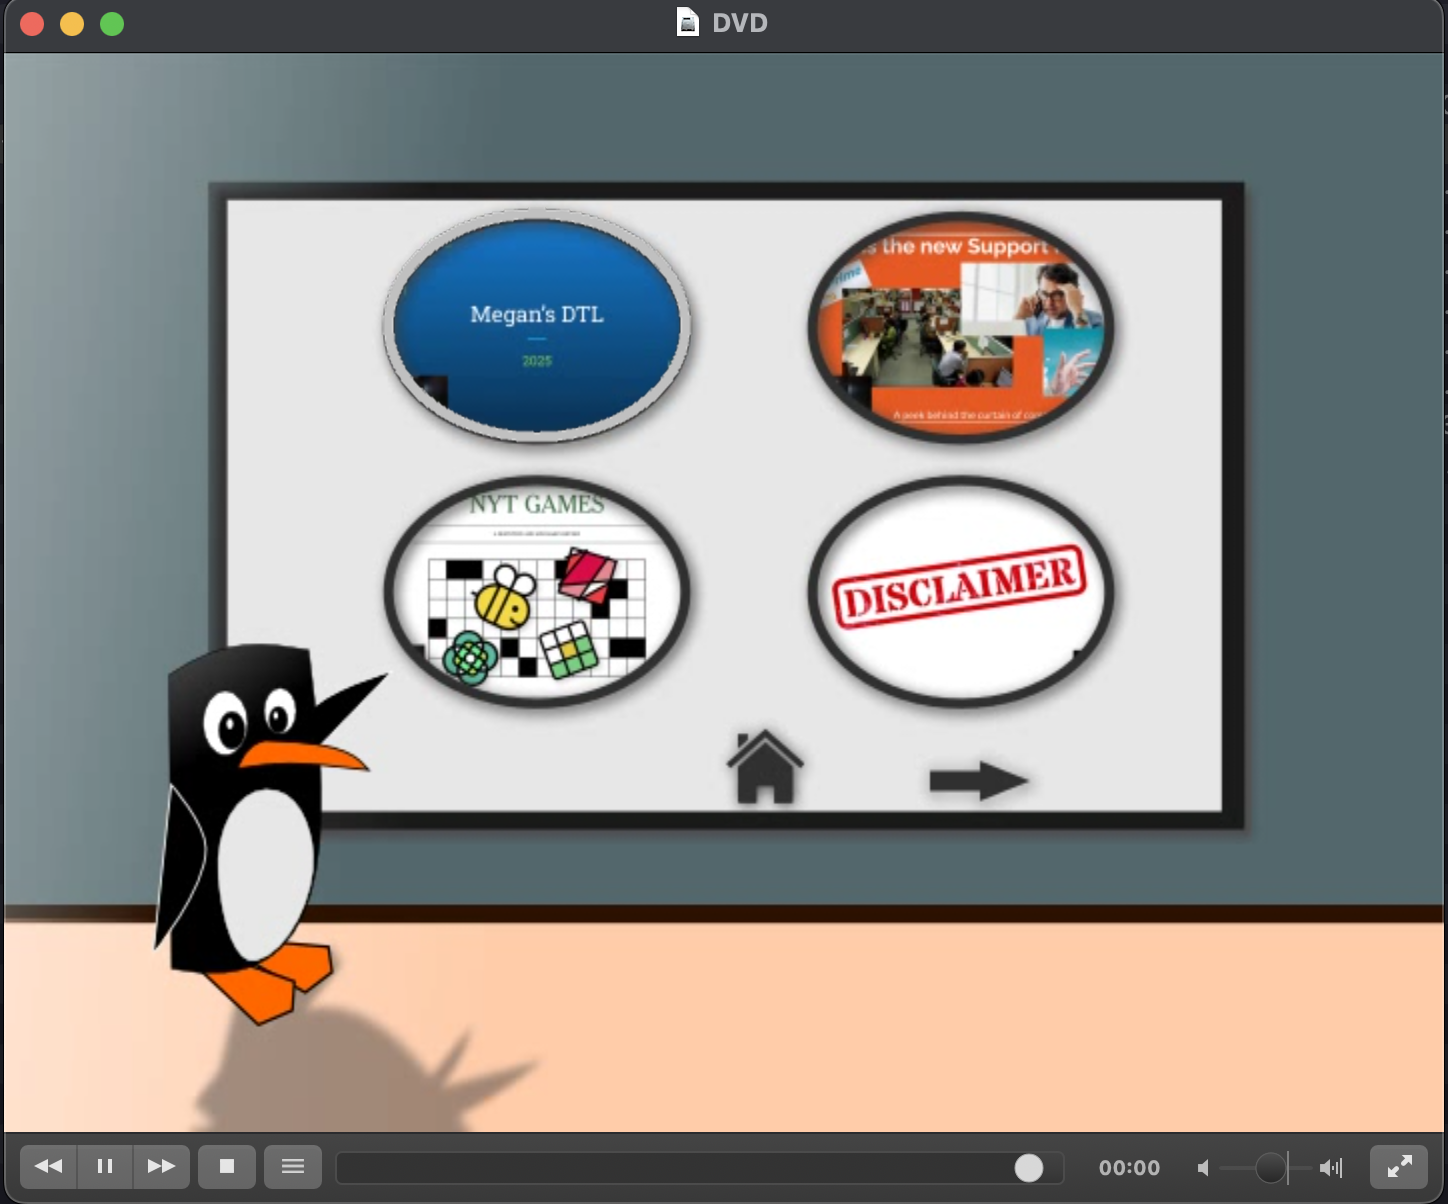
I thought it would be funny to make a DVD of the event with a ridiculous menu. I found this goofy software and successfully created a 2005 era home movie with the final video files.
Conclusion
I have definitely upped my streaming expertise – to what end I am not sure. Work presentations? I do want this ridiculous webcam now to add to the full professional streamer experience:
Maybe if I find the time to do in-person activist work again my niche will be online meetings management.
Special thanks to Eric and Brandon for helping demo this setup!
Member discussion